Saturday, April 24, 2021

Painting the Shell

Today was the best way to paint the inner frame and shell, so I got to it. It was cloudy most of the day, but the temperature and humidity was right. 

I used one can of Gloss Black Rustoleum to do 2 coats on the shell, and one on the frame. I allowed the instructions on the can for prep, painting, dry times, and more.


So there's some wind and a tree nearby, which was shedding plant material on my shell. Nothing stuck, but I was tired of brushing it off and stuff. So I took it to the garage and will let it dry and set/cure with some better shelter. 

I may add another coat soon, but the weather started to get unpredictable today (cloudy and sunny, super sunny, then windy...which is a bigger problem), so I'm going to stop for now. 

Thursday, April 22, 2021

Brass 5/32 Tube

 I order this from Grainger, and it arrived today. This will be for locking out the shocks.


Tuesday, April 20, 2021

Shell Prep

I took about 20-30 minutes to clean off my ABS plastic Shell before painting. This is done to get dirt and dust off.

Most guides say to use mild dish soap, but I only had whatever ultra oxy Palmolive is. I was gentle and light when using it, just in case. 


I gave the shell a shower, let it dry for at least 30 minutes, and wrapped the shell in some loose plastic to protect it from further dust.


I plan to keep it wrapped up until painting time. 

On a side note, I also cut some more thin wooden dowels for some of the side Greeblies. I embarrassingly forgot to cut enough out for both sides. I'll paint those when I paint the shell.  


Good Shocks Progress

I did some research and reading on the Mouse Droid Forums, and found you can remove the small end pieces on the shocks. The next mystery was how. I found a blog called CptCasey's WIP that helped me figure out how to remove the pieces.  

CptCasey's WIP: https://forum.mousedroidbuilders.club/thread-550.html?highlight=metal+tube 

I'm not sure what kind of tool this is, maybe diagonal pliers, but it gripped the rod tight enough to where I could unscrew the small end piece. It's my dads, and quite old, but it works well. 


I got the first front one off with a little brain power and sore fingers. You need a very tight grip so that the rod doesn't spin, otherwise every move is pointless. 

I've circled the threaded part in red.


Repeated 3 more times (this is the front done), and then you can put spacers/piping/tubes/whatever to keep the rods fully extended (if you go this route). 


Monday, April 19, 2021

Working on the Suspension Issue

I took some steps to fixing the wheels pushing against the frame, which is a suspension problem.  The wheels need to stand taller and closer to the body, not wider, so they don't hit the frame. This is the best method from the Mouse Droid Builders for my build, and they are helping me a lot. 

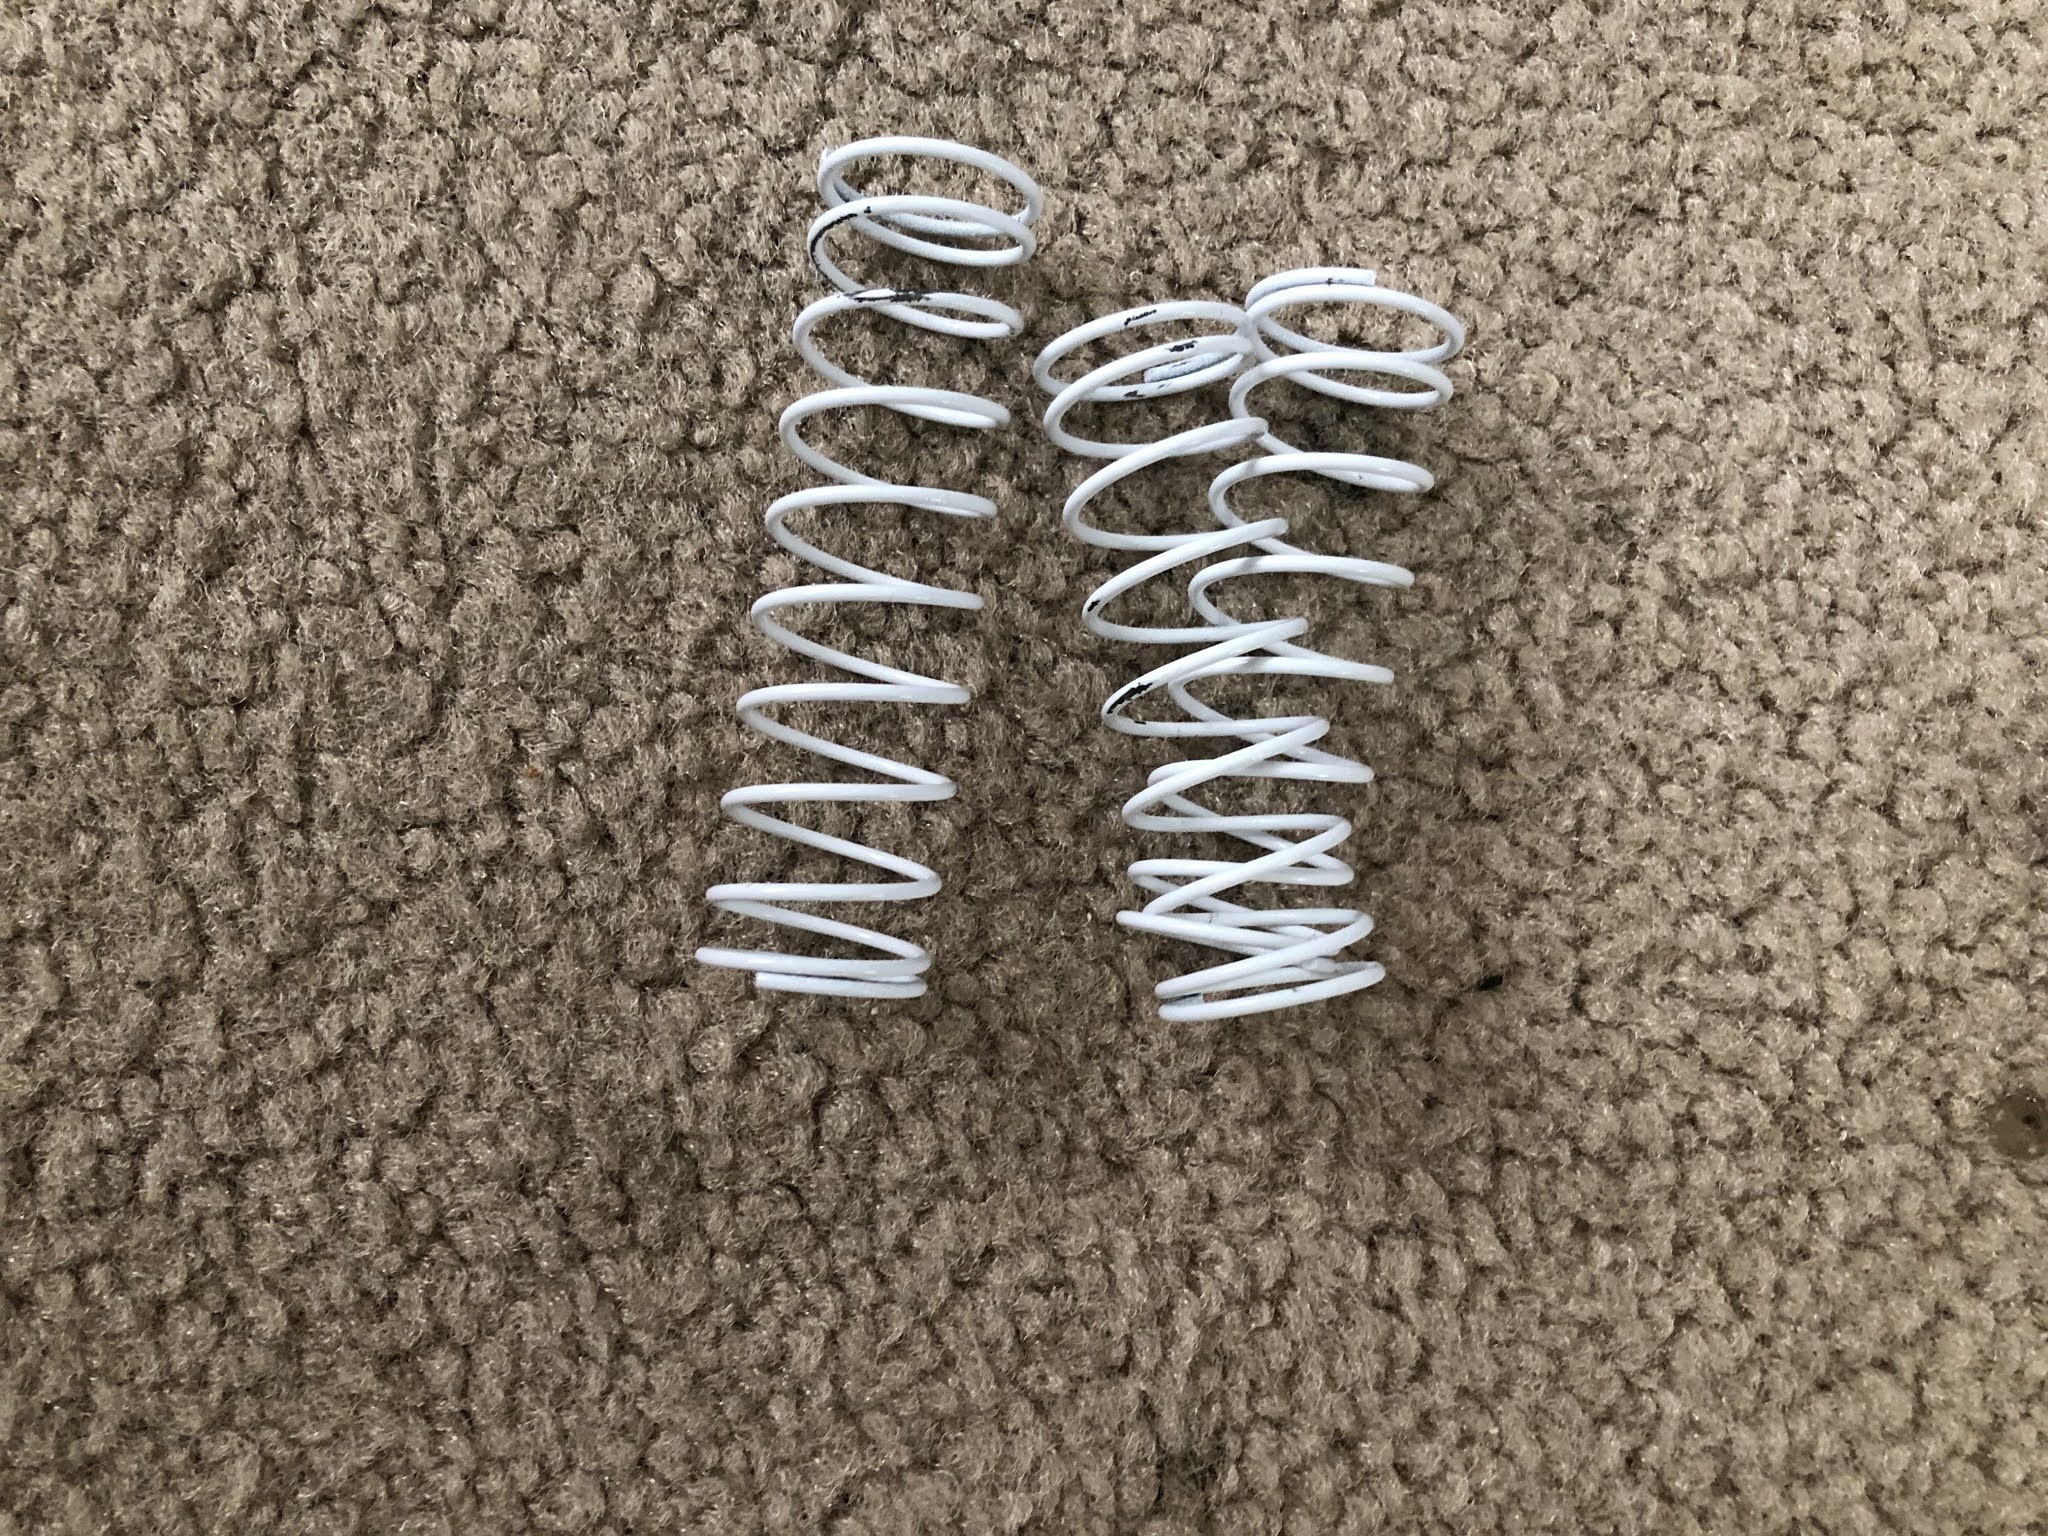
First, remove the old straw pieces and springs (springs are probably not needed).


Taking off these plastic things, which I don't know the function, and the bottom screws. I will keep the plastic bits even if I don't need them.


My dad has some 1/2 inch diameter PVC pipe and a cutting tool for it, so this will be used to lock out the shocks. This will be stiffer and stronger, and support the droid more. 


After slipping the pvc over, here it is now. The front are 2 1/5 inches long, and the back are about 2 3/4 inches long. It rolls a lot better with the frame in. 


The back wheels are better, but still rubbing. 


Same for the front, especially the front.


And the clearance is better, but could improve. I will continue working on it, hopefully to avoid sanding the frame down. 

Velcro

I added velcro to the bottom of everything now that I know it works. This apparently holds up to 10 pounds, which is much more than what we have here.

For the top Greeblies


For the PCBs

For more of the side Greeblies


They will all have to wait for the shell to be painted before I stick the other sticky side on.

Attaching the Traxxas, plus some sanding

The weather wasn't good for painting today (heat and wind), and I was recovering from covid19 dose 2 Friday-Saturday, so I decided to drill holes for attaching the Traxxas Bandit to the shell. It was really the only thing I could do. I saw other methods, but builders like Eric (showed me his droid at a build just before covid19 hit) recommended the bolt method. 

This is the area is where a few screws can go, the ideal is about 4, no more than 6. 


I also sanded off some more material with my dremel to allow the wheels more room in the middle and wheel wells.


I took a break to gently sand my shells with 300 and 320 grit sandpaper. This helps the paint adhere better, and I will give it a cleaning later to get off any dust, burs, and dirt. I followed a guide like this one https://www.hunker.com/13413297/how-to-prep-paint-abs-plastic, as I did recall builders advising sanding. 

You can see here it is not super shiny anymore and has some sanding dust, but is NOT scratched. Be gentle and use fine grit sandpaper. You can use a tack cloth on this later. 

I got 250 assorted screws, nuts, and washers from Harbor Freight because we ALWAYS seem to run low on them. I'm thinking of another Mouse or Gonk droid later, upgrades for this Mouse Droid,  Mo from Wall-E, and/or general household repairs for these. 

I'm using the 1 inch long machine bolts here, smallest I could find. I have read countersunk machine screws are also recommended, so these bolts aren't the be-all end-all here.


I didn't want my Traxxas slipping around while measuring and drilling, so I tested some of the heavy duty velcro I bought. It held things steady, but will need to go later as there's too much space between the shell and RC car now. This should definitely work for the Greeblies. 

I only had to test two drill bits to find the right one for the bolts. I have no idea how long my dad has had these, but they work.

Bolts, nuts, and washers assembled here. I'm likely using 4-6 of these setups in the final product. 

I wasn't sure what to expect drilling through this plastic, but it was quite easy. The bit went through the shell easily as well, but I expected that. 


I will be doing some more research on how to assemble everything here, because the washers will help spread out some force and weight. 

It looks like the weather will be better for painting next weekend, which is the good news. 

The bad news....There's also a new issues where the wheels push against the frame, meaning it won't drive very well (if at all). I will likely redo the shocks/suspension (stronger material), get better wheels, and/or sand down a tiny bit of the frame if needed (would hate to do this to such a nice frame). I'm going to do research on this before anything, though. 


Mouse Droids First Halloween

Mouse Droid not only celebrated Halloween, but also her 6 month date of being relatively complete.  I learned the basics of servos with Ardu...